Senior-Friendly Exercises For Foot Health
Senior-friendly exercises for foot health are essential for maintaining mobility and independence as we age. As someone who has personally benefited from incorporating these exercises into my daily routine, I can attest to their positive impact. By targeting specific muscle groups and improving flexibility, balance, and strength, these exercises help alleviate common foot problems and reduce the risk of falls. In the following sections, we will delve into a variety of exercises suitable for seniors, along with tips on how to create a sustainable exercise routine.
Happy Feet, Happy You: Senior-Friendly Exercises for Foot Health
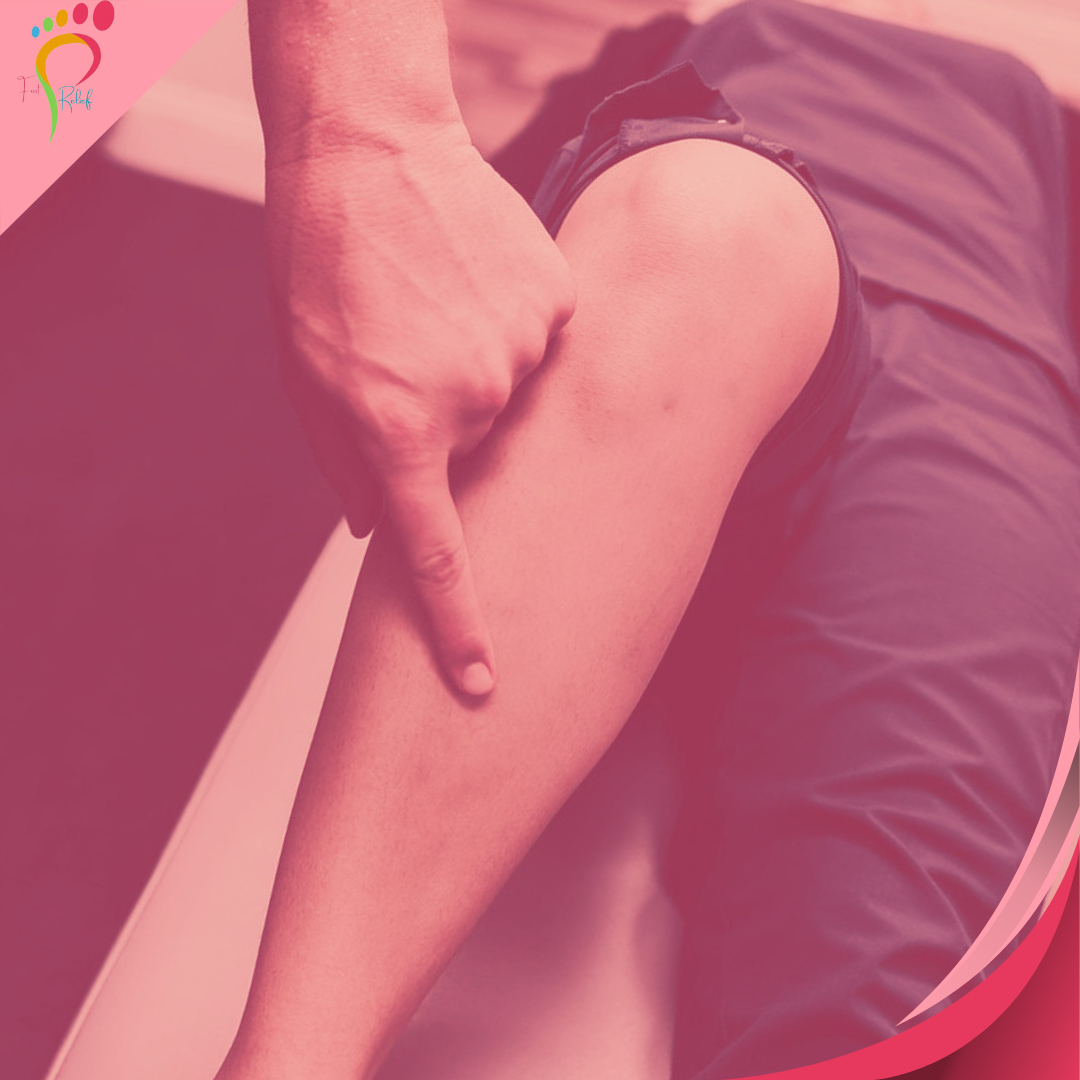
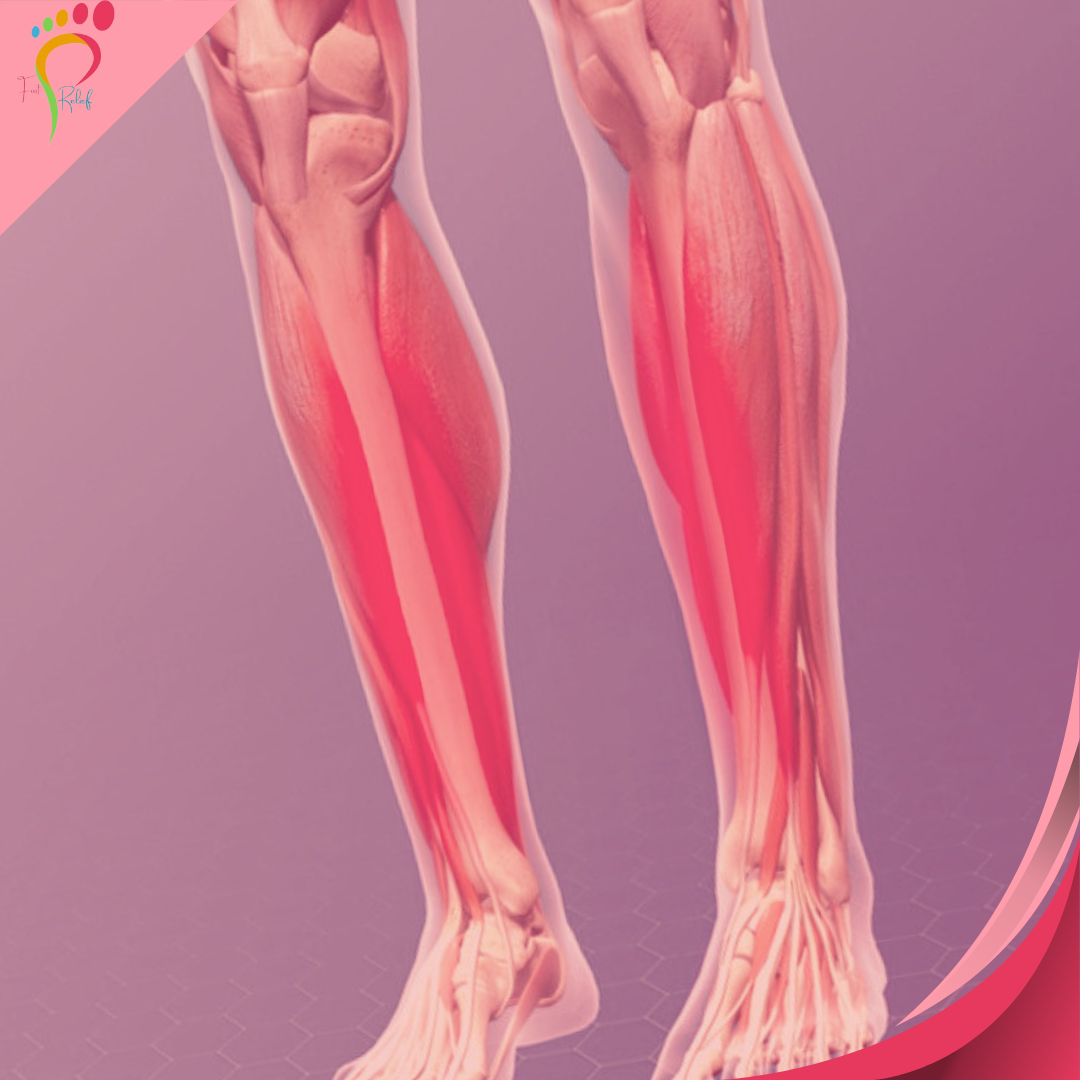
Foot health is a big deal for seniors, though it often flies under the radar. Maintaining healthy feet is not just about comfort—it’s about preserving mobility and staying active. As we age, our feet go through a lot, sometimes leading to issues like arthritis, neuropathy, and plantar fasciitis. These can slow you down and make moving around less fun.

Ignoring foot health might clip your wings, so to speak. When your feet aren’t happy, your overall well-being takes a hit. Things like walking, staying active, and even just feeling steady on your feet can become a real chore. Plus, foot pain and problems can lead to a knock-on effect, keeping you from getting out and about, which can add a layer of isolation and even mess with your emotional health.
So, why all the fuss about foot health? Well, having healthy feet plays a crucial role in staying steady and independent on your feet. This isn’t just about avoiding sore spots or bunions. It’s about keeping your independence and ensuring you can continue doing the things you love without discomfort or risk.
Keeping track of your foot health isn’t just a reactive measure. Being proactive with a little TLC can do wonders. Checking your feet regularly, wearing the right shoes, and even talking to a specialist when something feels funky all go a long way in keeping things shipshape. When you catch problems early, you avoid bigger issues down the line, letting you stay on your toes, literally and figuratively.
Preemptive care around foot health can seriously boost your quality of life in your golden years. So, while going through your healthcare checklist, make sure foot health gets the attention it deserves. After all, your feet are your foundational support, and they deserve just as much attention as the rest of you.

Key Takeaways:
- Prioritizing Mobility: Senior-friendly exercises improve foot strength, flexibility, and balance, helping maintain mobility and independence.
- Simple & Effective: Targeted foot exercises reduce pain, support balance, and prevent falls with minimal time commitment.
- Consistency Matters: Routine care promotes long-term foot health, supporting active and comfortable daily living for seniors.
Effective Exercises to Boost Foot Health
Regular exercise is key to keeping your feet in top shape, especially as we age. It’s about establishing routines that anyone can tap into without the need for fancy equipment or a gym subscription. By building foot exercises into daily activities, you can ease tension, improve circulation, and keep those tootsies ticking along nicely.
Simple Foot Exercises
Simple movements make a big difference. Think heel raises, toe curls, and ankle circles. These exercises are easy to fit into a daily schedule and work wonders for maintaining strength and flexibility in your feet. By regularly exercising your feet, you minimize muscle stiffness and build strength, which helps prevent those pesky aches and pains.
Enhancing Balance and Stability
Routine foot exercises also support better balance and stability. This is especially important for seniors who want to minimize their fall risk. Incorporating exercises that enhance balance not only benefits your feet but also boosts overall body coordination.
Effective Short Workouts
The best part? You don’t have to slog through hours of exercise. Short, consistent bursts are highly effective. Even simple things like practicing standing on one foot while brushing your teeth can contribute a lot.
Long-term Benefits of Consistency
It might seem like a little change, but sticking to these exercises offers big rewards. As you settle into your routine, you’ll notice more ease and confidence in your movement, setting a solid foundation for maintaining independence and quality of life.
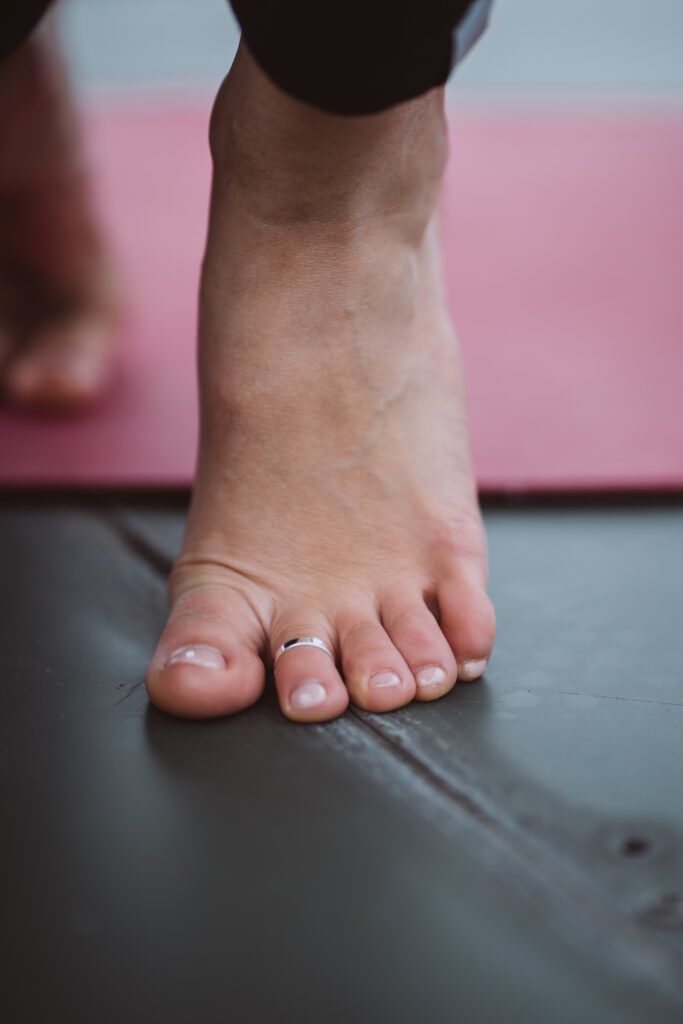
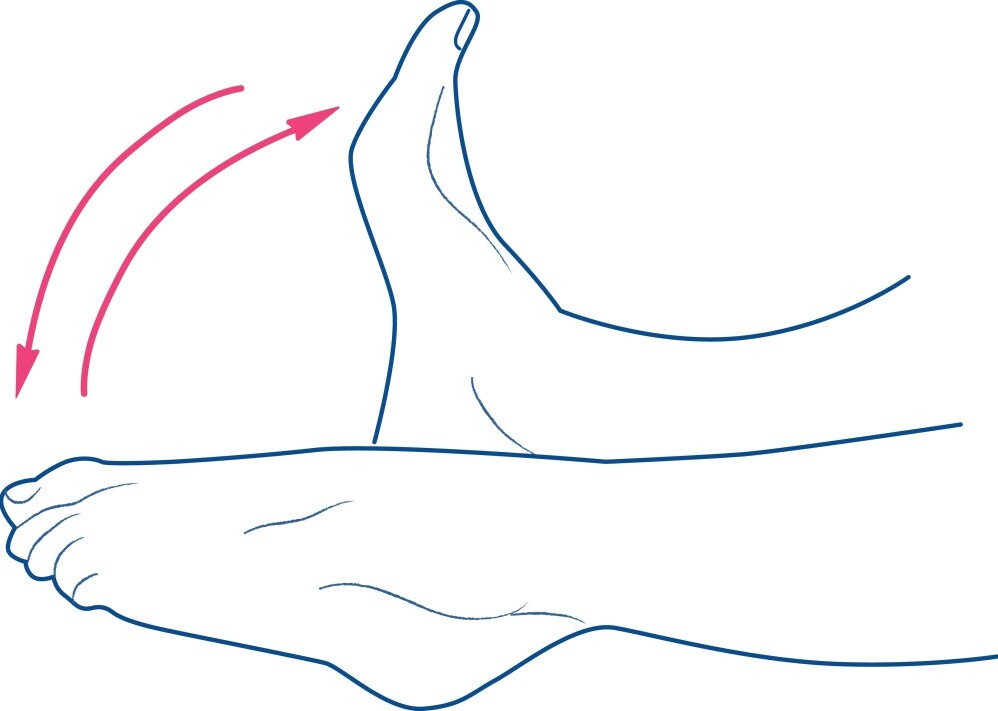
Simple Stretching Techniques for Better Foot Flexibility
Foot flexibility plays a huge role in maintaining foot health for seniors. Keeping those feet supple helps dodge unwanted injuries and keeps you light on your feet.
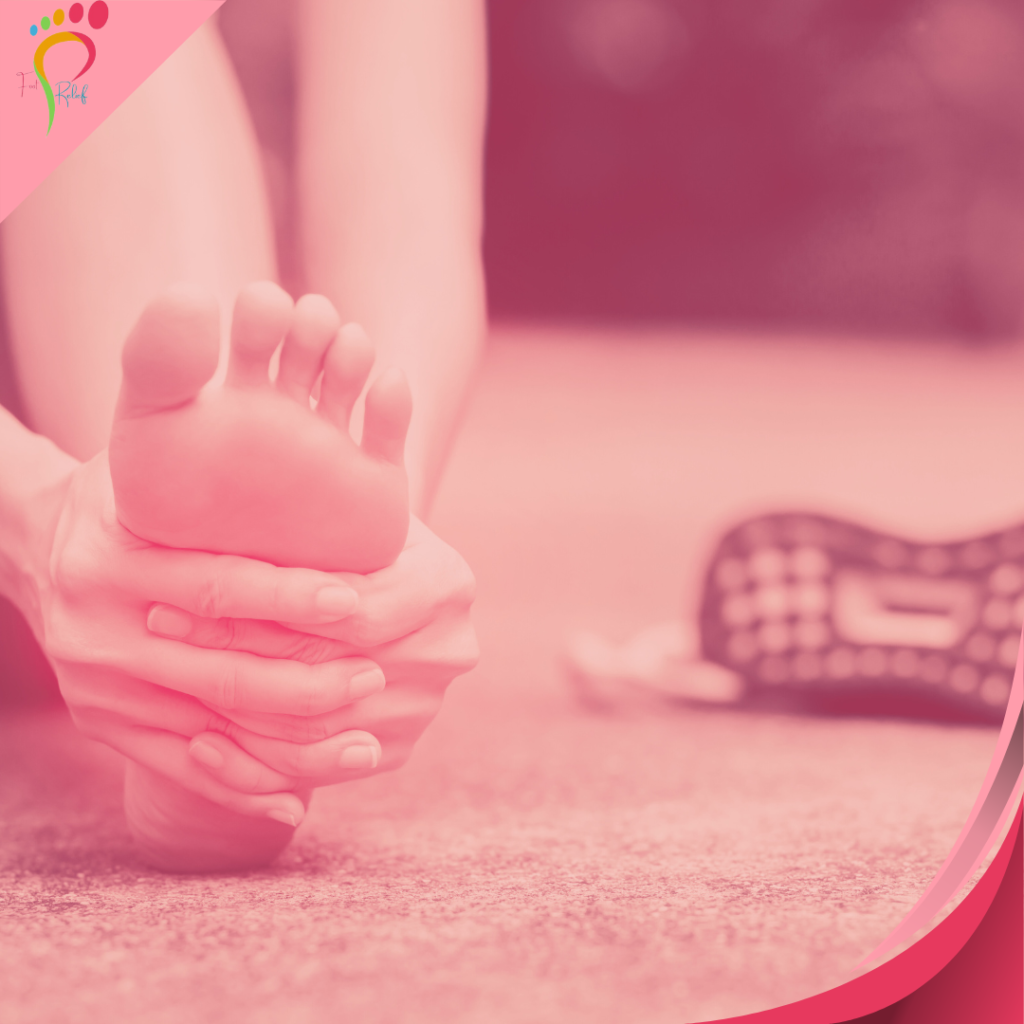
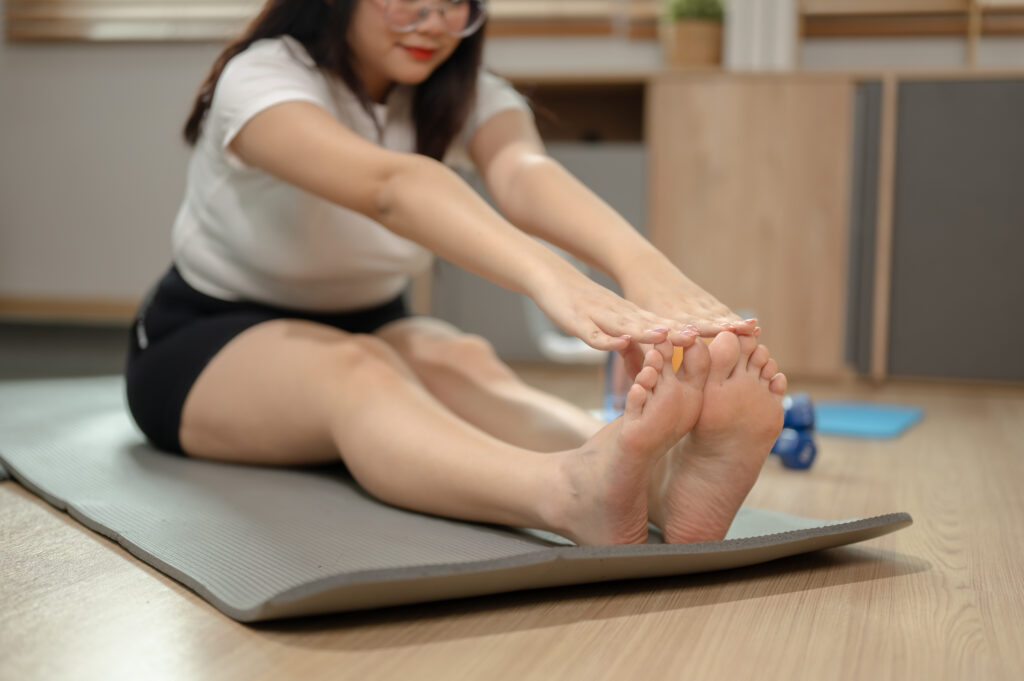
Starting with easy stretches can gradually improve the range of motion in your feet. Toe stretches, calf stretches, and even a good old towel stretch can do wonders. Simply sit, extend your leg, loop a towel around your foot, and gently pull.
These maneuvers are all about gently coaxing your muscles to stretch a bit further. It’s not about pushing to the pain point but feeling a nice stretch that releases tension.
Making these stretches part of your daily setup can prevent tightness and ward off muscle cramps. It’s like giving your feet a well-deserved treat, prepping them for whatever the day brings.
Consistency is key. Regular stretching sessions not only improve flexibility but can also undo some of the stiffness that naturally creeps in as we age. Just a few minutes each day can lead to noticeable improvements.
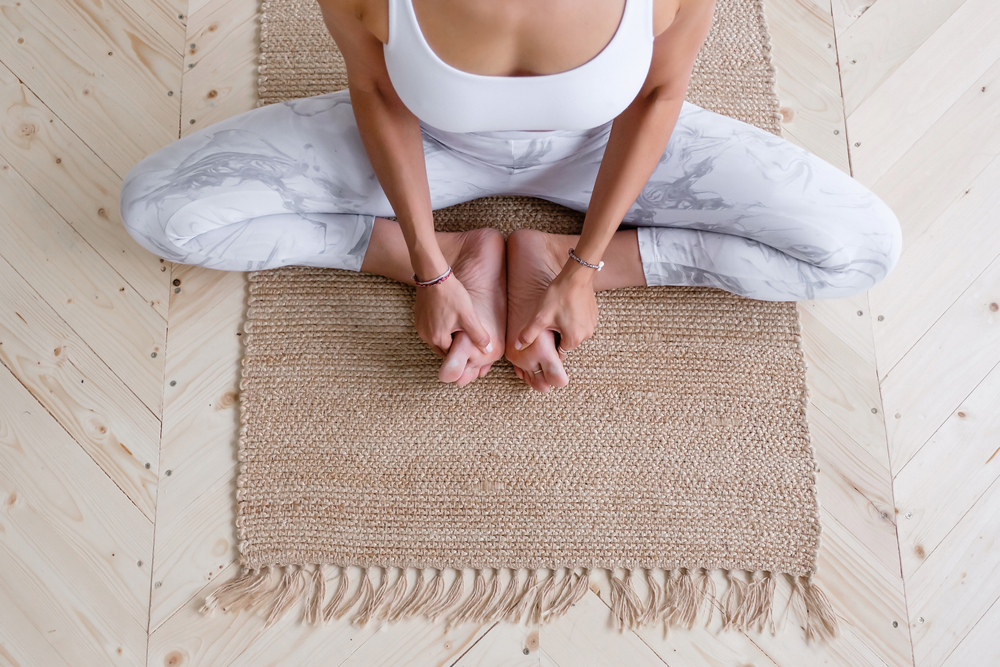
So, roll out that mat, grab a sturdy chair, and give those stretches a go. Incorporating these movements into your routine means you’re setting up your body for fewer restrictions and more freedom in movement.
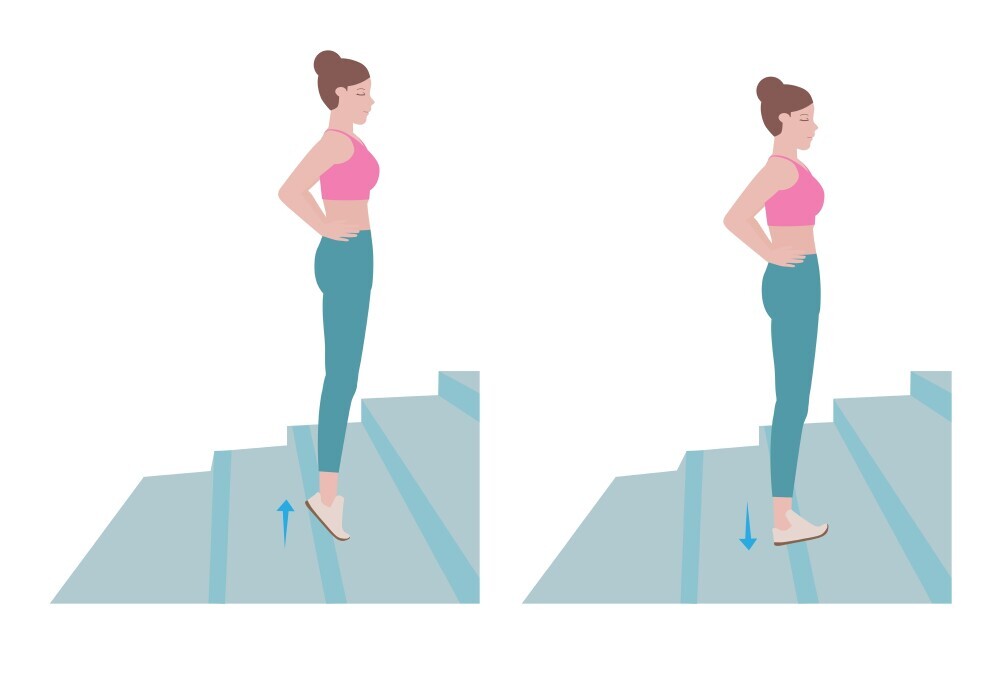
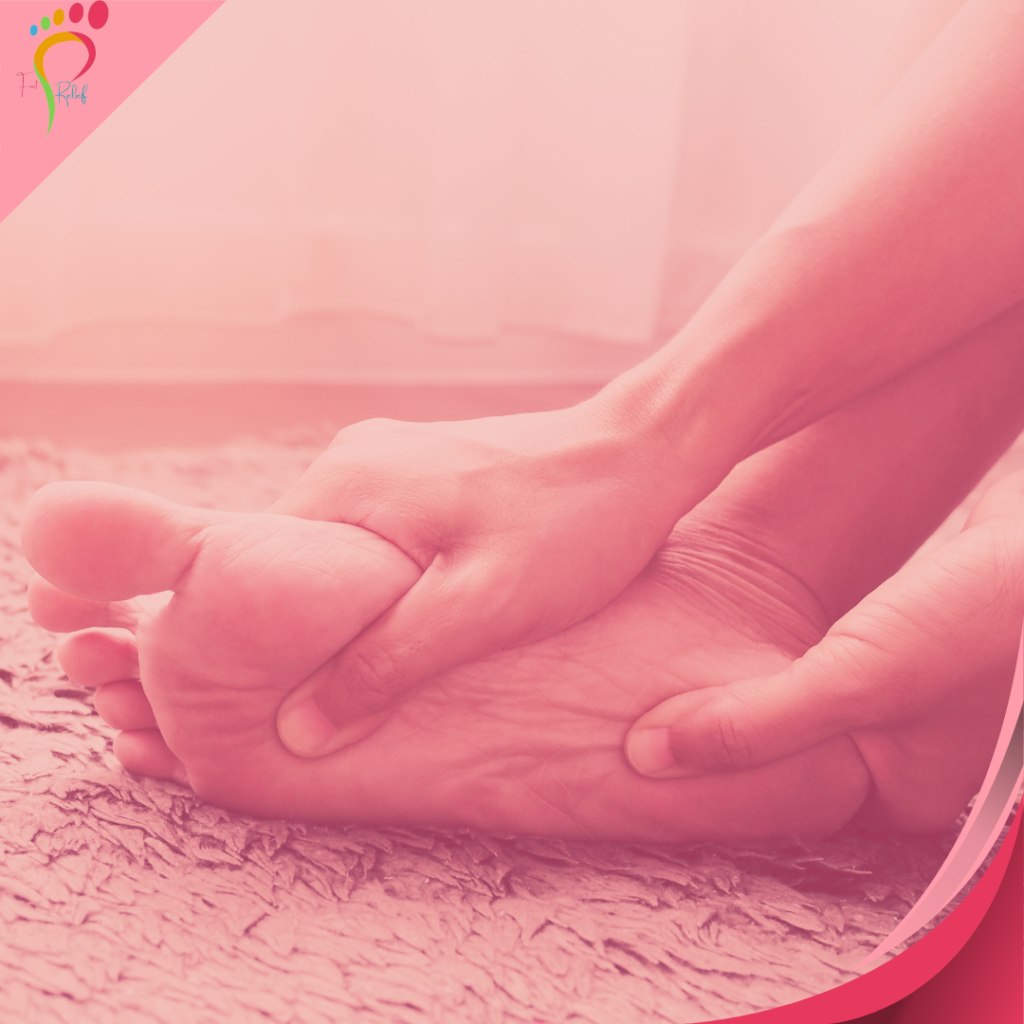
Strengthening Exercises for Stronger Feet
Building strength in your feet is all about giving those muscles a good workout without overdoing it. Strong feet are less prone to injuries, making it easier to go about your daily activities without hiccups.
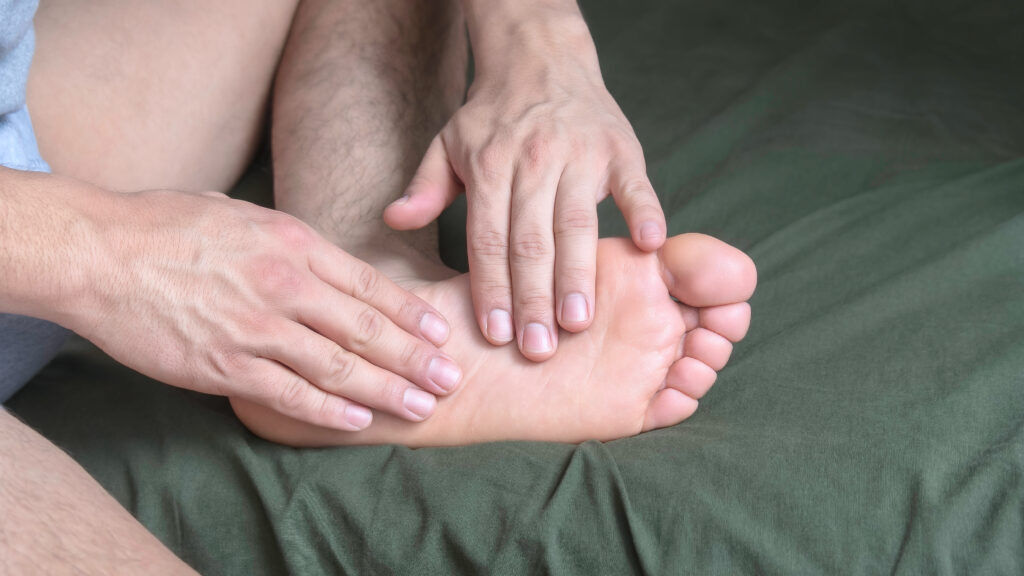
Some exercises focus on strengthening these muscles. Take toe raises, for instance—lifting your heels off the ground and balancing on your toes works wonders for foot strength. Then there are towel scrunches, using your toes to pull a towel toward you, which target the tiny muscles often overlooked.
Another winner is the marble pickup. Scatter some marbles in front of you and challenge your toes to pick them up one-by-one. It sounds simple, but it gives your feet a decent workout.
Adapting these exercises to match your ability level is crucial. Start slow, see what feels right, and gradually increase the intensity. The goal is progress, not perfection.
Many seniors who have regularly incorporated foot strengthening exercises into their routines report feeling more stable and comfortable while walking. It all boils down to acknowledging that strong feet support active living long into your senior years.
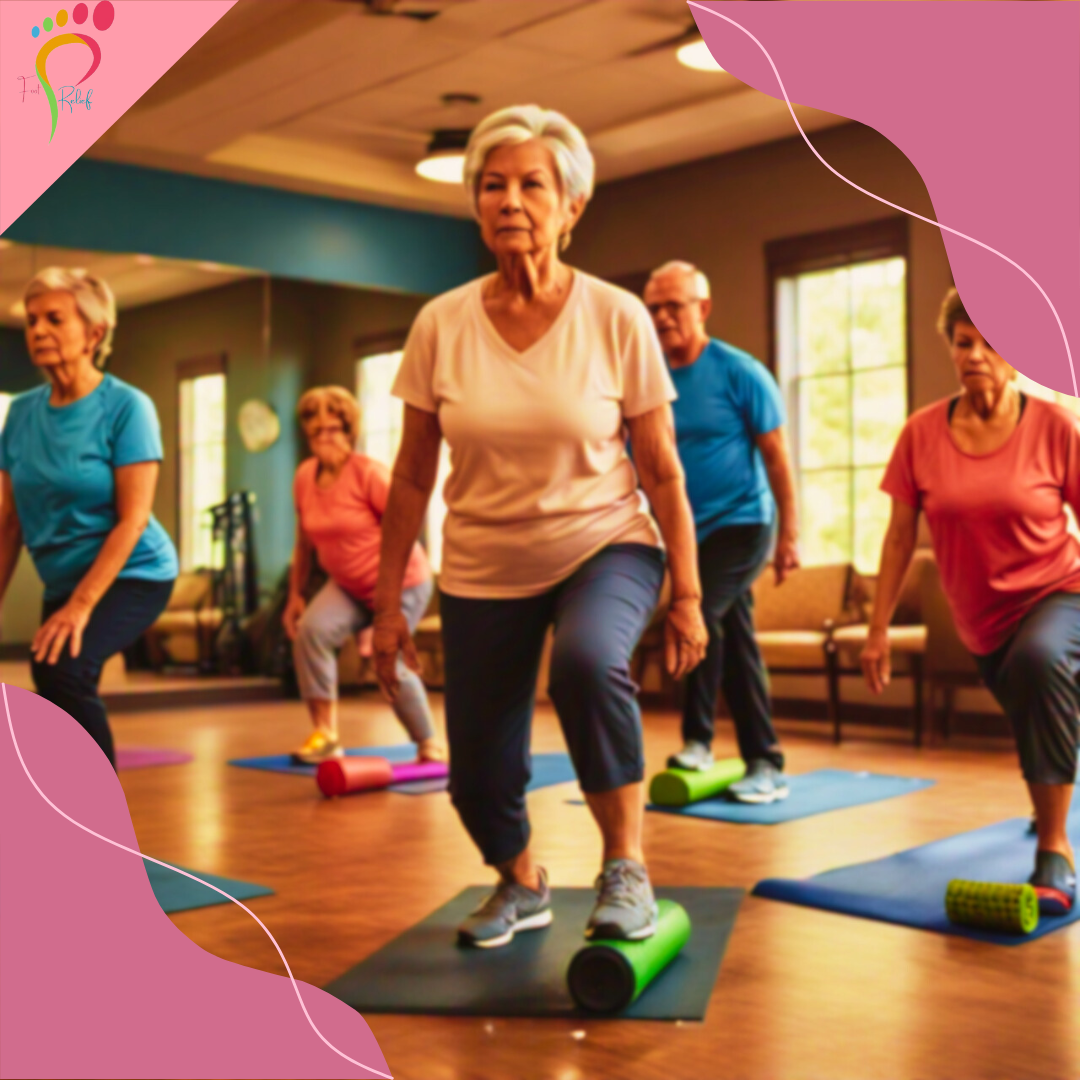
Balance and Coordination Exercises for Improved Stability
Boosting balance and coordination is a surefire way to improve overall foot health. For seniors, maintaining stability can mean the difference between living independently and facing frequent falls or accidents.
Exercises like standing on one foot, heel-to-toe walking, or practicing sitting down and standing up without using hands all contribute to better balance. These moves help the brain and muscles communicate more effectively, syncing your body’s movements.
Trying new exercises may feel challenging at first, but it’s important to persist through the initial wobbles. Consistency builds confidence. The more you practice, the easier it gets, and soon those tricky exercises won’t be so intimidating.
Finding simple, everyday moments to practice balance can make a significant impact too. For instance, balancing on one leg while waiting for the kettle to boil or doing heel-to-toe walks down the hallway can subtly incorporate balance practice into daily life.
Beyond physical stability, improving balance also boosts peace of mind. Knowing you can move confidently without fear of falling encourages you to stay active and engaged with the world around you.

Using Props and Tools to Enhance Foot Exercises
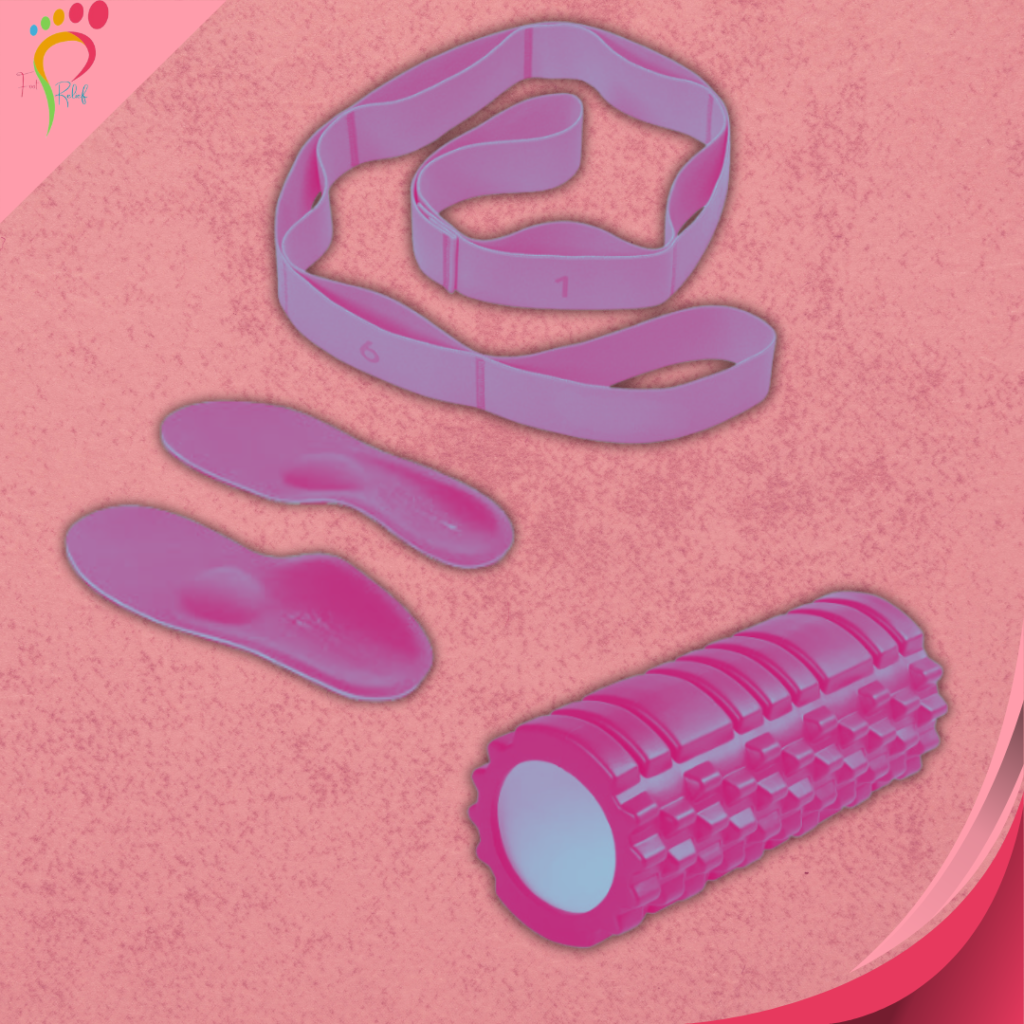
Adding props and tools to your foot exercise regime can give your routine a fun twist while enhancing effectiveness. Simple equipment like resistance bands, exercise balls, and balance boards offer additional challenges that keep workouts interesting and engaging.
Versatility of Resistance Bands
Resistance bands are versatile and can be used to strengthen various foot and ankle muscles by providing adjustable tension. Using a band around your forefoot adds resistance during toe flexing and pointing, intensifying the workout.
Benefits of Exercise Balls
Exercise balls are great for sitting exercises to bolster foot muscles. Rolling a ball under your foot helps with coordination and loosens tight muscles, making it a favorite for those needing gentle yet effective stretches.
Improving Stability with Balance Boards
Balance boards challenge your stability, making them perfect for improving balance while strengthening the core and feet simultaneously. Even a few minutes on the board can significantly enhance your coordination skills.
Choosing the Right Gear
Selecting the right gear is vital, so consider what’s feasible and safe for your fitness level. Start with beginner-friendly tools and progressively incorporate more complex ones as you gain confidence.
Safety First
Always prioritize safety. Use props in a controlled environment, preferably with something stable nearby to hold onto if needed. Consult with a healthcare provider to determine the most suitable exercises and tools for you.
Creating a Sustainable Exercise Routine for Long-Term Foot Health
Building a sustainable exercise routine is the key to long-term foot health and overall well-being. The goal is to incorporate exercises into your daily or weekly schedule without feeling overwhelmed.
Consistency makes a noticeable difference. Set a realistic plan that fits into your life and slowly increase the frequency as you get more comfortable with the exercises. Whether it’s morning stretches to kickstart your day or evening routines to wind down, find what suits your rhythm.
Motivation can sometimes wane, but finding enjoyment in your routine can keep you on track. Partnering up with a buddy or joining a senior exercise class adds a social element and a bit of fun to your exercises.
Collaborating with physical therapists or trainers allows you to personalize routines tailored to your needs and capabilities. They guide you safely and help track your progress, paving the way for improvements that stick.
These exercises are not only about immediate benefits but about building a foundation for greater mobility and independence in the future. Your feet work hard—keeping them fortified ensures you’re ready to tackle every step life throws your way.

Senior-Friendly Exercises for Foot Health: A Recap
In this guide, we’ve explored the importance of foot health for seniors and the many benefits of incorporating regular exercise into your routine. From simple stretches to targeted strengthening exercises, we’ve covered a range of techniques to improve flexibility, balance, and overall foot strength.
I’ve personally tried some of these exercises, and I can attest to their effectiveness. Heel raises, toe curls, and marble pickups are easy to do at home and have made a noticeable difference in my foot health.
Remember, consistency is key. Even small amounts of exercise each day can yield significant results. By prioritizing foot health, you’re investing in your overall well-being and ensuring a more active and comfortable life.
So, what are you waiting for? Start incorporating these exercises into your daily routine today!
If you have any questions or concerns, consult with a healthcare professional.
Frequently Asked Questions
We’ve compiled a list of frequently asked questions to address common concerns about foot health and exercise.
How often should I do these exercises?
It’s recommended to do these exercises at least 3-4 times a week, but even daily practice can be beneficial. However, listen to your body and avoid overexertion.
Are these exercises safe for people with arthritis or other foot conditions?
While these exercises are generally safe, it’s crucial to consult with a healthcare professional before starting any new exercise routine, especially if you have underlying health conditions. They can provide personalized guidance and modify exercises to suit your specific needs.
Can these exercises help prevent foot pain and discomfort?
Yes, regular foot exercises can help prevent and alleviate common foot problems like plantar fasciitis, Achilles tendonitis, and metatarsalgia. By strengthening the muscles and improving flexibility, you can reduce pain and discomfort.
Stay Active, Stay Connected!
Looking for more tips and tricks to stay fit after 55? Head over to our website, Fit After 55, for engaging content, product reviews, and a supportive community dedicated to helping you reach your fitness goals!
Join the conversation on our Facebook page, Fit After 55 Community, and connect with fellow fitness enthusiasts of all ages!